
How to validate Rewards
The Reward Management interface is designed to make the process of confirming or rejecting rewards faster and easier, ensuring your customers receive their incentives on time. You can now validate rewards individually on the list or use the powerful bulk validation method that leverages the updated filtering and export capabilities.
Method 1: Validating a Single Reward
The list view allows you to Confirm or Reject one reward at a time. This method is ideal when you have only a few rewards to process or when reviewing documents from end-users (like those submitted via Claim by Link).
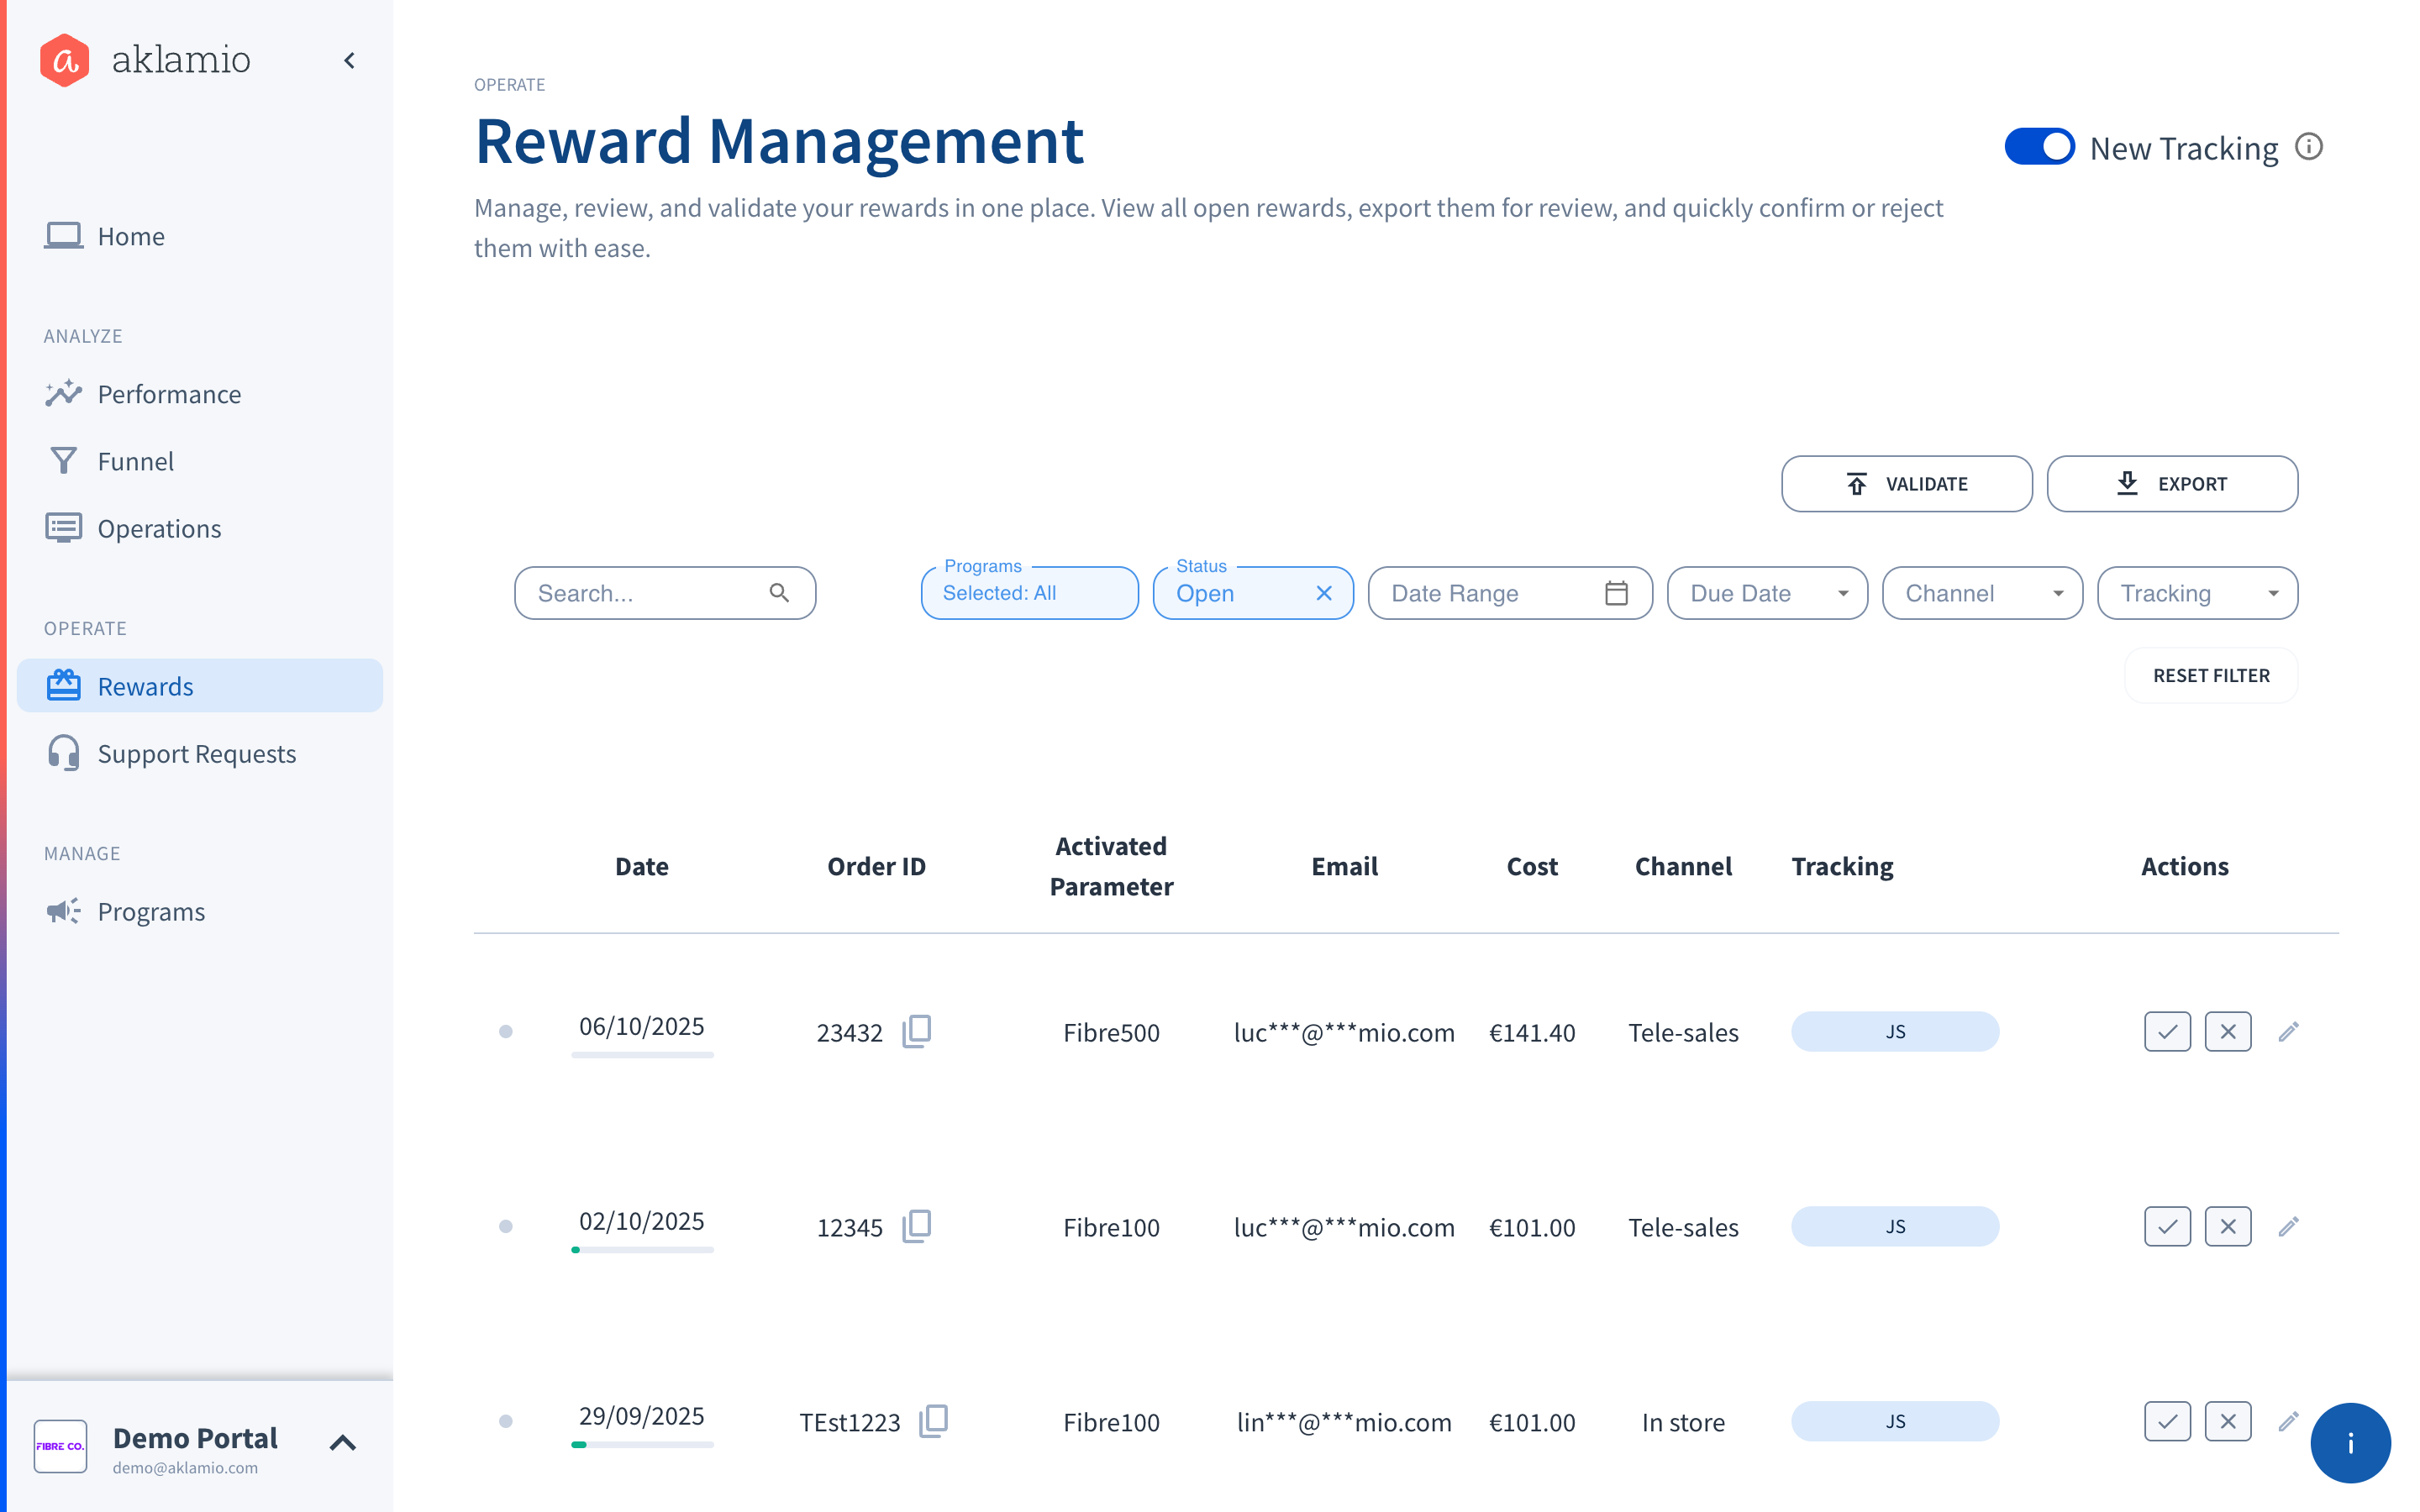
- Navigate to the Reward Management section under Operate.
- Locate the reward you want to validate in the list. Use the Search and Filter bars to quickly find the specific transaction.
- Click the Confirm button (checkmark) to approve the reward or the Reject button (cross-mark) to decline it.
- Confirm your decision in the subsequent in-place interaction to finalize the validation.

Method 2.a: Bulk Validation via CSV Upload (Confirm or Reject)
Step-by-Step Guide
This bulk validation process works in two steps: (1) filter and export your target Order IDs, and (2) upload those Order IDs again via a CSV file, marked with the desired action 'confirm' or 'reject'.
1. Filter and Export the Order IDs:
- Navigate to the Rewards section under Operate.
- Apply filters to narrow down the list to only the reward you want to validate. For example, set Status: Open and narrow down by Program or (Due) Date Range. The export function respects all applied filters, ensuring "What You See Is What You Get" in your CSV file.
- Click the EXPORT button (located in the top right above the list) to generate a CSV file containing the filtered rewards.
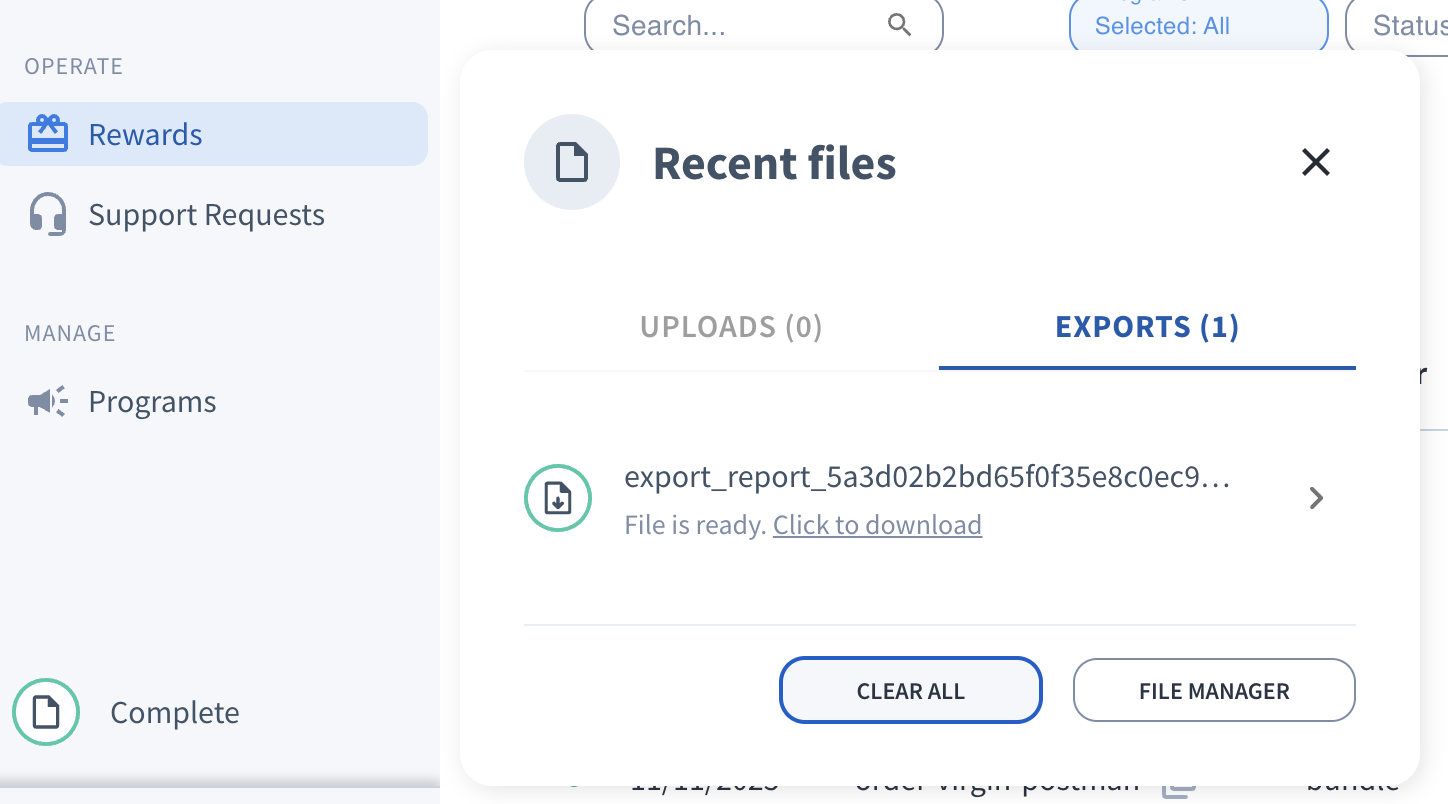
- Download the exported CSV file when it shows 'File is ready. Click to download on the Recent files pop up.
2. Change status of the Order IDs in file, Save as CSV and Upload:
- Open the exported CSV file and approve / decline your list of orders by entering 'confirm' or 'reject' respectively under the Status column.
- Save as CSV file.
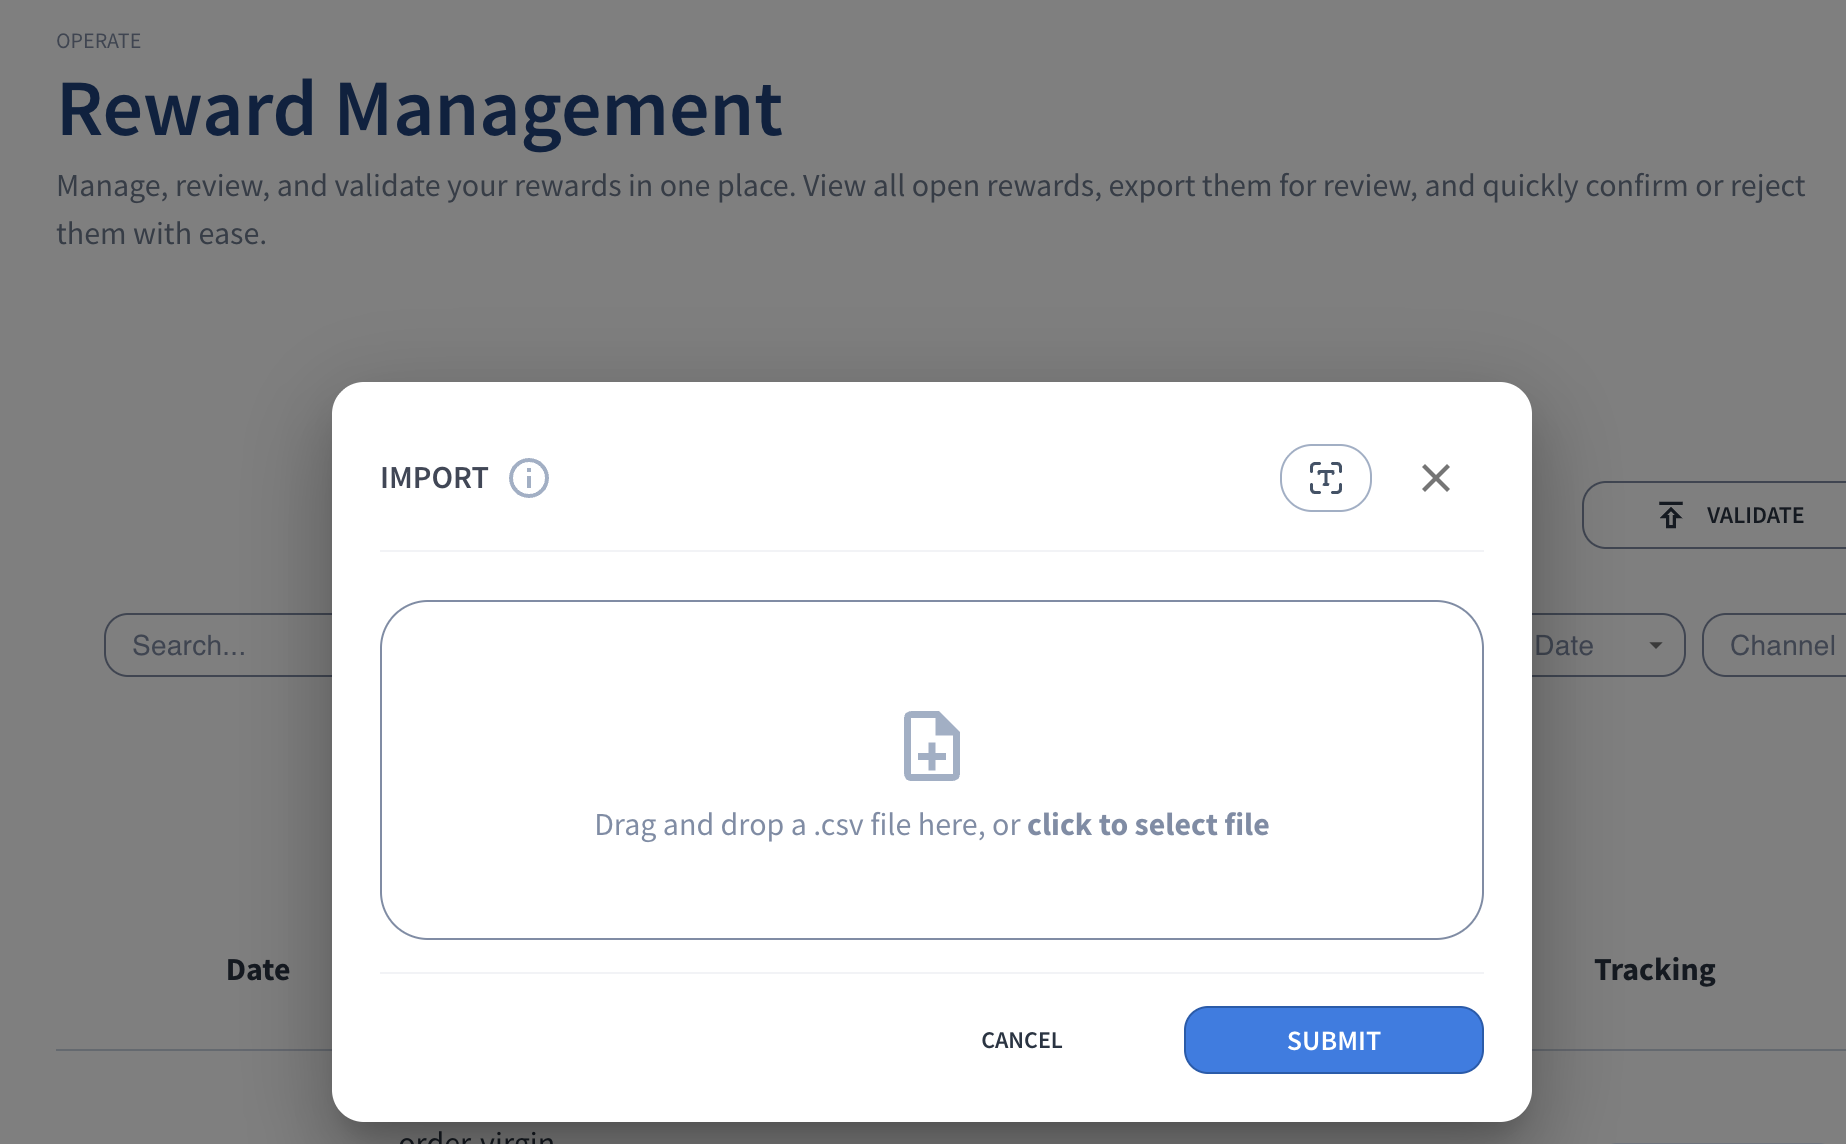
- Click the VALIDATE button to open the Import modal. Upload your saved CSV file by dragging and dropping it or selecting it from your computer files.
- Click the SUBMIT button.
- Follow file processing progress on the Recent files pop up or navigate to Advanced / File Manager.
Method 2.b: Bulk Validation via Comma Separated Text Entry

Alternatively, you can validate a batch of rewards using the text entry option of the Import modal.
This method uses manual text entry instead of a CSV file upload. Simply copy the Order IDs from the exported file from Method 2.a, then enter them manually as a comma separated list or use line breaks.
Import and Validate the IDs
- Click the VALIDATE button (located in the top right, next to EXPORT) in the Reward Management screen.
- Click the 'T' icon near the upper left corner of the Import pop-up and select the Program you want to validate rewards for.
- Paste the list of Order IDs you copied from the exported file into the Import text entry window. They should be separated by commas or line breaks.
- Click either CONFIRM or REJECT on the pop-up to apply the bulk action to all the pasted Order IDs.
- Confirm the action in the final pop-up to complete the bulk validation.
💡 Best Practices for Efficient Validation
- Triage by Due Date: Use the Due Date filter (e.g., Overdue or Within 1 Week) to quickly find and process the most time-sensitive rewards. The color-coded due date indicator bar helps you visually prioritize.
- Red Indicator = The reward is Overdue.
- Orange Indicator = The reward is due within 1 week.
- Budget Check: When preparing for a bulk validation for a specific program or channel, always review the Current Balance metric to ensure you have sufficient budget available before you approve the transactions.
- Search Smart: Use the Search bar to look up individual rewards by Order ID, Email Address (Recommender, Lead, or Agent), or Activated Parameter.